


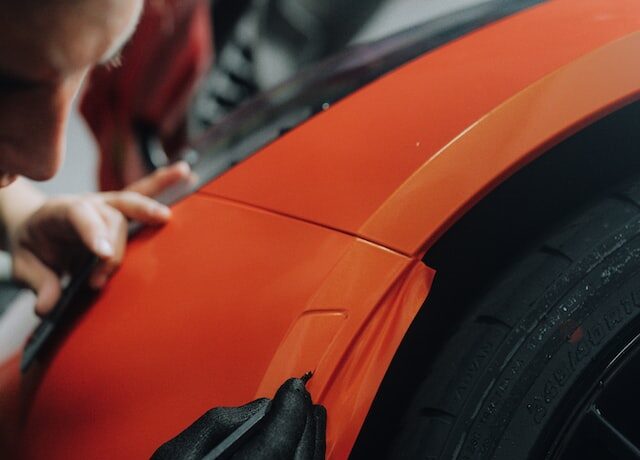
Introduction
Whether you have a brand new car or an old one, having window tinting film installed can be a great way to add style and improve the look of your vehicle. Not only does it enhance your car’s appearance, but it also serves as a protective layer from both UV rays and heat. Installing window tinting film is easy enough to do yourself, but there are some tips that you should follow in order to ensure that you get the job done correctly and safely. In this blog post, we’ll provide step-by-step instructions on how to install car window tinting film for your new car. Read on to learn more!
Tools and Materials Needed
If you’re looking to install window tinting film on your new car, you’ll need a few tools and materials. Here’s what you’ll need:
– Window tinting film
– Window tinting solution
– Squeegee
– Lint-free cloth
First, you’ll need to purchase the 3m window film, You can find this at most auto stores or online. Next, you’ll need to pick up some window tinting solution. This is used to help the film adhere to the glass.
Once you have all of your materials, follow these steps:
1. Clean the windows with the lint-free cloth and window tinting solution. This will help ensure that the film adheres properly.
2. Cut the window tinting film to size. Make sure to leave a few inches extra around the edges so that you can trim it later.
3. Apply thewindow tinting filmto the window, starting at one corner and working your way across. Be sure to use even pressure so that there are no bubbles in the film. 4. Once the entire window is covered, use the squeegee to smooth out any bubbles or wrinkles in the film. 5. Trim off any excess film around the edges with a sharp knife or razor blade
Step by Step Instructions
If you’re looking to add some privacy or style to your new car, window tinting film is a great way to do it. This article will walk you through the process of installing window tinting film on your new car, step by step.
1. Start by cleaning the windows you’ll be tinting. Use a glass cleaner and a lint-free cloth to make sure the surface is completely clean and free of any dirt or debris.
2. Cut the tinting film to size. It’s important to get a good fit here, so take your time and measure carefully. Once the film is cut to size, use soapy water to wet the back of it.
3. Apply the wet film to the window, starting at one corner and working your way across. Be careful not to trap any air bubbles under the film as you go.
4. Use a squeegee or your fingers to smooth out any bubbles that may have formed while applying the film. Then trim off any excess film around the edges with a razor blade or sharp knife.
5. Finally, use a heat gun or hair dryer on low heat to shrink and seal the tinting film in place. This will give it a nice, professional finish and help it last longer too.
Tips and Tricks
If you’re looking to install car window tinting film on your new car, there are a few tips and tricks you should know. First, make sure you purchase a quality product that is specifically designed for automotive use. Many window tinting films are made for residential or commercial use and will not adhere properly to your car’s windows.
Next, take your time when installing the film. If you rush, you run the risk of creating bubbles or wrinkles in the film. When cutting the film to size, be sure to use a sharp knife or razor blade so that you get clean, straight cuts.
Finally, keep in mind that window tinting film can affect your car’s radio signal. If you experience any interference after installation, try moving the antenna to a different location on your car.
Pre-Cut, or Self-Cut
Car window tinting film can be purchased in either pre-cut or self-cut kits. Pre-cut kits are cut to the specific make, model, and year of your car, which makes them much easier to install. Self-cut kits require you to cut the film to size yourself, which can be more challenging.
If you’re installing window tinting film on a new car, we recommend going with a pre-cut kit. With a pre-cut kit, you’ll know that the film will fit your car’s windows perfectly. This makes for a much cleaner and professional looking install job.
Cost of Car Window Tinting in Australia
The average cost of car window tinting in Australia can range from $100 to $400. The price will depend on the type of film you choose, the size of your vehicle, and the number of windows you want to tint.
If you are looking for a low-cost option, you can try do-it-yourself (DIY) window tinting kits. These typically cost between $50 and $200. However, it is important to note that DIY kits can be more difficult to install correctly, so it is best to leave this task to a professional if possible.
When having your car windows tinted professionally, be sure to ask about any warranty or guarantee that is offered. This will ensure that you are covered in case of any problems with the tinting job.
Leave a reply


